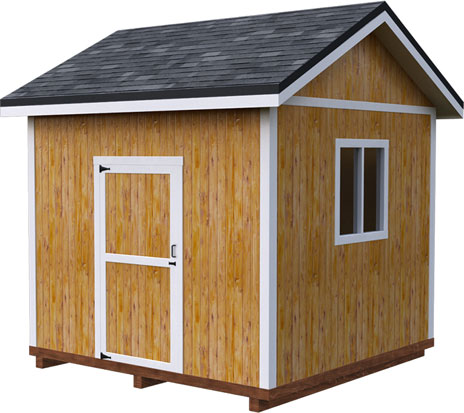
This is how simple we have made building a Gable Shed all by your own!
If you still have questions, get one of our FREE or PREMIUM shed plans to have precise measurements and pro techniques for each step.
 General Noteworthy Shed Building Tips
Pick A Good Spot
There are two different types of shed builders; those who pick shed spots based on aesthetics and those who choose the first available spot. Unfortunately neither of these is effective ways to choose where to build your shed.
When choosing where to build your shed, choose a flat dry spot on your property. This will make it easier to excavate and level it out, and ensure that you build on a dry surface. Avoid building your shed in a low lying area that is prone to water collection or you’ll find your shed flooded after a big rain. Too much water means rotting wood, blistering paint and rusty hinges and none of that will highlight how hard you worked to build this shed.
Let Your Shed Breathe
This is another shed building tip about the location of your shed. While it would be great to let your shed blend into the shrubbery on your property, but it isn’t really realistic. You want to allow your shed to breathe which means giving it space from trees, fences and shrubs. A few feet all around will let the materials breathe effectively and direct sunlight will ensure mold and mildew stay far away.
Don’t Scrimp On Windows
If you are a first time do it yourself-er you might consider skipping a few things you consider non-essentials to make your job easier. When it comes to fancy light fixtures or little potted plants on the window sill you may be able to do without. But one area where you should not skip is windows.
If you don’t plan to have electricity running through your shed, this is the shed building tip you will want to listen to most. Windows easily brighten up a shed so you don’t have to hunt around for a flashlight or a lantern if you’re old school, every time you need to grab something from your shed. But…don’t go nuts and install a ton of windows or you will be giving up valuable space to hang tools or shelves.
Ask Other Builders
Don’t assume that you’re missing something if you have a question that cannot be answered within the guidelines of the shed plans. Builders at all levels will always have questions and it is better to ask the question than miss something important in the process. Go online and find a forum or a video if you have a question. Better yet, read all the little print that you skipped over in your shed plan and see if the answer is there, it might be.
If all else fails, ask your neighbour who is always tinkering around in his garage what you may or may not be missing. Don’t be afraid to ask…the answers are out there.
Go Slowly
Probably the best shed building tip for every builder is to go slowly. There will always be things that you want to add to your shed, but start slow with the essentials. You need floors, walls, a roof, windows and doors…beyond that it is all extras.
You can worry about decorating or shelves or adding shutters at a later date. Get through the hard part—erecting the shed—and add accessories and garnishes once the big stuff is complete.

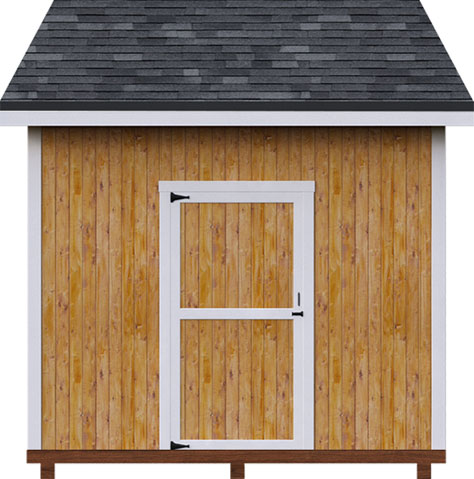


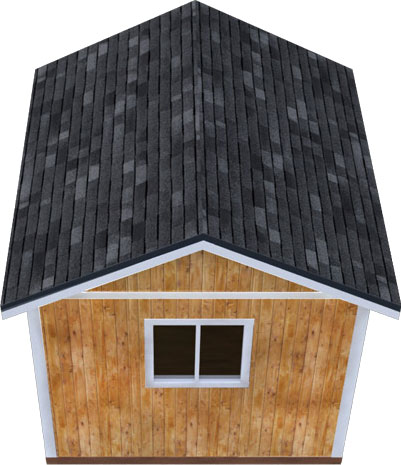
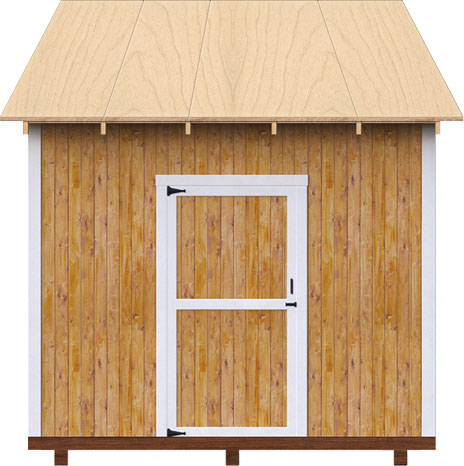
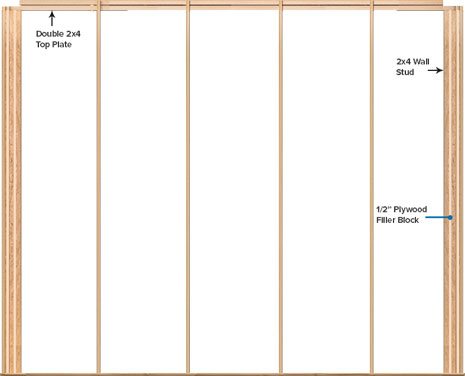
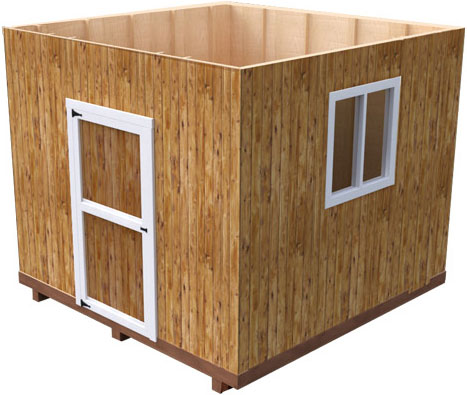
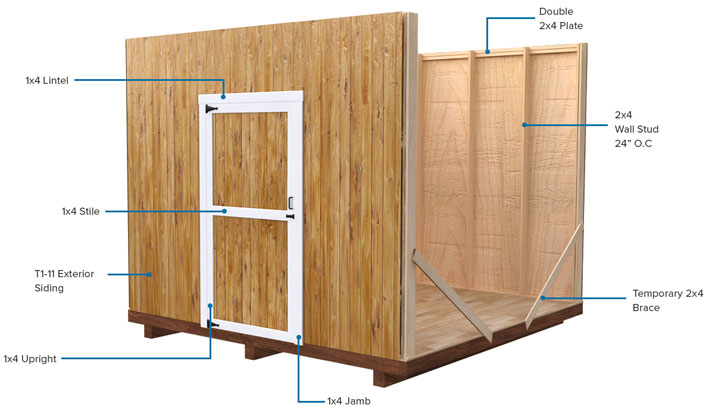 Now that the foundation and floor is prepared, let’s move to setting up the front and back wall and door. This is actually an exciting step. Once set up, you will have a feeling of accomplishment, as you will be able to see half of your shed up and standing.
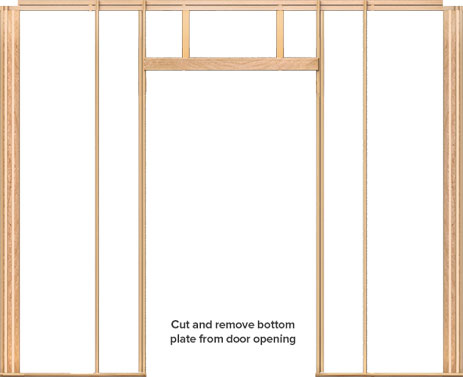


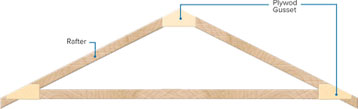
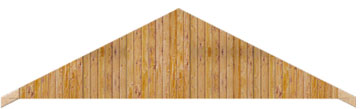
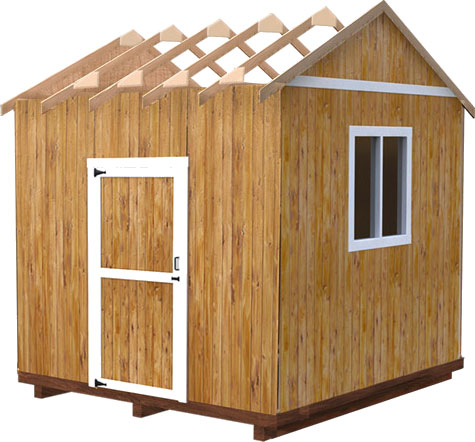 Now that the walls, doors and windows are in place, time to add the cherry to the cake. Yep…your shed is almost ready. The only thing left is the roof, which we will be adding now.